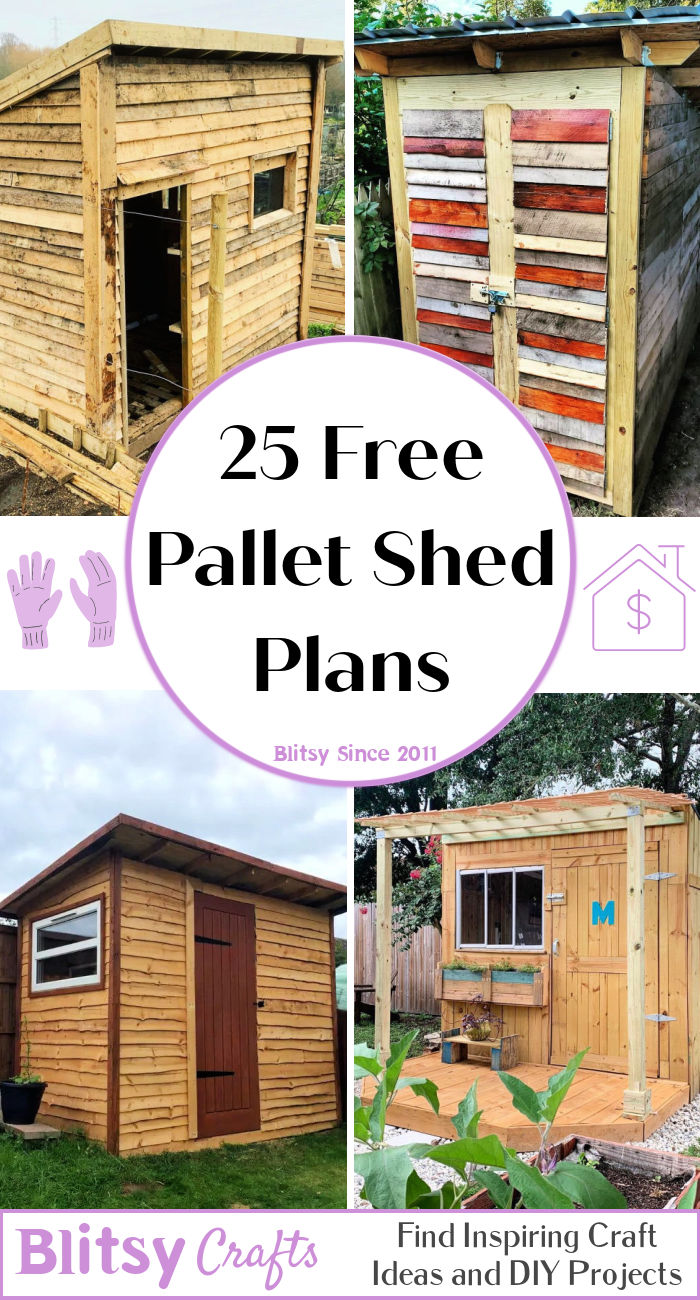
Constructing a Pallet Shed: A Comprehensive Guide Utilizing Free Plans
This document provides a detailed guide for constructing a durable and aesthetically pleasing pallet shed for your yard, leveraging readily available free online plans. The process is broken down into manageable stages, emphasizing safety and efficient material utilization. While free plans offer cost savings, careful planning and execution are crucial for a successful outcome. This guide assumes a basic understanding of carpentry and the ability to use common power tools safely.
Phase 1: Planning and Preparation
Before commencing construction, meticulous planning is paramount. This phase focuses on securing necessary permits, selecting appropriate plans, gathering materials, and preparing the construction site.
1.1 Securing Necessary Permits
Depending on your location and the dimensions of the intended shed, building permits may be required. Contact your local building department to ascertain necessary regulations and obtain the required permits before starting construction. Failing to do so can result in significant fines and potential demolition orders.
1.2 Selecting Suitable Free Plans
Numerous websites offer free pallet shed plans. Carefully review several options, considering factors such as shed dimensions, complexity of the design, and material requirements. Select plans that align with your skill level and available resources. Pay close attention to the detailed specifications, ensuring you understand every aspect before proceeding. Look for plans with clear diagrams, detailed cutting lists, and assembly instructions. Favor plans with readily available materials and straightforward construction techniques.
1.3 Gathering Materials and Tools
Once the plans are selected, create a comprehensive materials list. This list should include the number and type of pallets needed, additional lumber for reinforcement (if necessary), screws, nails, weatherproofing materials (e.g., paint, sealant), and any other hardware specified in the chosen plans. Ensure you acquire high-quality materials for optimal durability. The condition of the reclaimed pallets should be carefully assessed. Choose pallets free from significant rot, insect infestation, or structural damage. Damaged pallets should be repaired or replaced.
Essential tools include a measuring tape, saw (circular saw or hand saw), drill, screwdriver (both manual and power), hammer, level, safety glasses, work gloves, and possibly a nail gun for faster construction. Consider renting power tools if purchasing them is not feasible.
1.4 Preparing the Construction Site
Choose a level, stable location for your shed. Clear the area of debris, vegetation, and any obstructions. Mark the outline of the shed's foundation using stakes and string. The ground should be leveled to provide a stable base for the structure. Consider using a compacted gravel base for improved drainage and stability, especially in areas prone to moisture. If the ground is uneven, adjust the height of the base using gravel or paving stones to create a level surface.
Phase 2: Foundation and Frame Construction
This phase involves constructing the shed's foundation and the primary structural frame, ensuring the structure is both stable and square.
2.1 Foundation Construction
The chosen plans will dictate the type of foundation needed. Options include a simple gravel base, concrete blocks, or a more substantial concrete slab. For basic pallet sheds, a well-leveled gravel base is often sufficient. Ensure proper drainage is incorporated to prevent water accumulation. The foundation should be larger than the shed's footprint to provide stability and prevent settling.
2.2 Frame Assembly
Following the instructions provided in your chosen plans, begin assembling the frame. Carefully measure and cut the lumber according to the specifications. Ensure all joints are square and securely fastened using appropriate screws or nails. Regularly check for squareness using a speed square or level. A well-constructed frame is essential for the overall stability and longevity of the shed. Consider reinforcing the frame with additional bracing for added strength, especially in areas prone to high winds or heavy snow.
Phase 3: Pallet Integration and Wall Construction
This phase involves integrating the reclaimed pallets into the frame, creating the shed's walls. Careful planning and execution are vital to ensure structural integrity and aesthetic appeal.
3.1 Pallet Preparation
Inspect each pallet for damage and repair any significant defects before integration. Remove any loose nails, broken boards, or protruding hardware that could pose a safety hazard. Consider cleaning the pallets using a wire brush or pressure washer to remove dirt and debris. If desired, sand down any rough edges for a smoother finish. Dispose of any unusable pallets responsibly.
3.2 Pallet Attachment
Attach the pallets to the frame securely using screws or nails. Ensure the pallets are aligned and evenly spaced. Consider using a combination of screws and nails for enhanced stability. Pre-drilling pilot holes in the pallets before attaching them to the frame will prevent splitting and ensure a cleaner finish. If gaps exist between pallets, consider filling them with wood filler or weatherstripping to improve insulation and prevent drafts.
3.3 Wall Construction and Reinforcement
Once the pallets are attached, assess the structural integrity of the walls. Additional bracing may be required to strengthen the walls, particularly in areas prone to high winds or heavy snow. Consider using diagonal bracing or vertical supports to reinforce the structure. Remember to refer to the chosen plans for specific reinforcement recommendations.
Phase 4: Roofing, Doors, and Finishing Touches
The final phase involves installing the roof, doors (if included in your plans), and adding any necessary finishing touches.
4.1 Roof Construction
The roofing method will depend on your chosen plans. Options might include a simple gable roof, a shed roof, or a more complex design. Ensure the roof is adequately sloped to allow for proper water runoff. Use appropriate roofing materials that are resistant to weather conditions in your region. Proper sealing and flashing are essential to prevent leaks. Consider adding additional bracing to the roof structure for improved stability.
4.2 Door Installation (If Applicable)
If your plans include a door, install it securely, ensuring proper alignment and functionality. Use appropriate hinges and a latch mechanism. Consider weatherproofing the door to prevent drafts and water damage.
4.3 Finishing Touches
Once the main structure is complete, apply a weatherproofing treatment to protect the wood from the elements. This could involve painting, staining, or applying a sealant. Consider adding additional features, such as windows for ventilation or shelves for storage. Clean up the construction site and dispose of all waste materials responsibly.
Phase 5: Inspection and Maintenance
Following construction, conduct a thorough inspection of the shed to ensure structural integrity and identify any potential issues. Regular maintenance is crucial for the long-term durability of your pallet shed. Periodically inspect the structure for signs of damage, wear, or decay. Address any maintenance needs promptly to prevent further deterioration.
By carefully following these steps and utilizing readily available free plans, you can successfully construct a functional and attractive pallet shed for your yard. Remember, safety should always be your top priority. Wear appropriate safety gear, use tools correctly, and never hesitate to seek assistance when needed.
Sign up here with your email
ConversionConversion EmoticonEmoticon
Note: Only a member of this blog may post a comment.